If you have dark brown hair and you’re looking to mix it up and add some new balayage and shine, then this is for you! Oh, I forgot to add without having to go to the salon.
What is Balayage?
Balayage, usually confused as a color itself, is actually a coloring and highlighting technique. Opposed to the traditional foil method, balayage involves freehand painting or ‘sweeping’ the hair with color. The word balayage is named after the French word ‘balayer,’ which means ‘to sweep’.
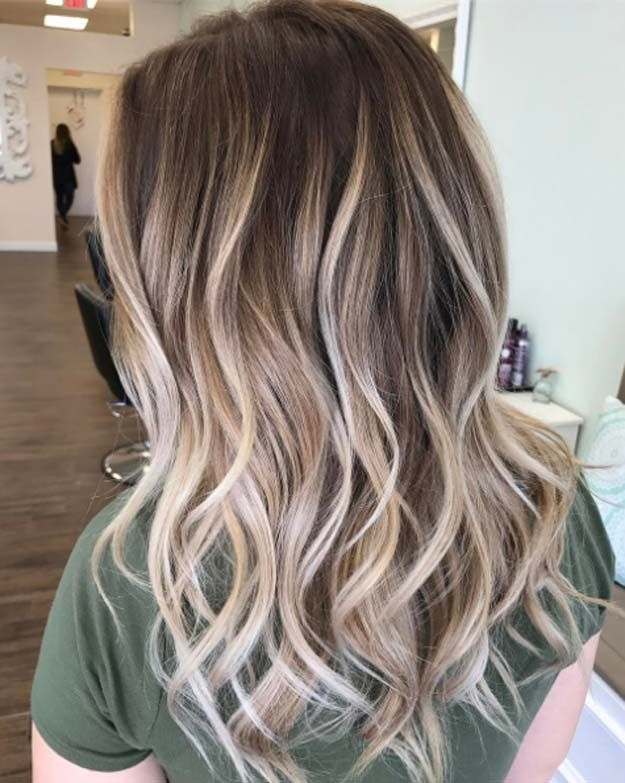
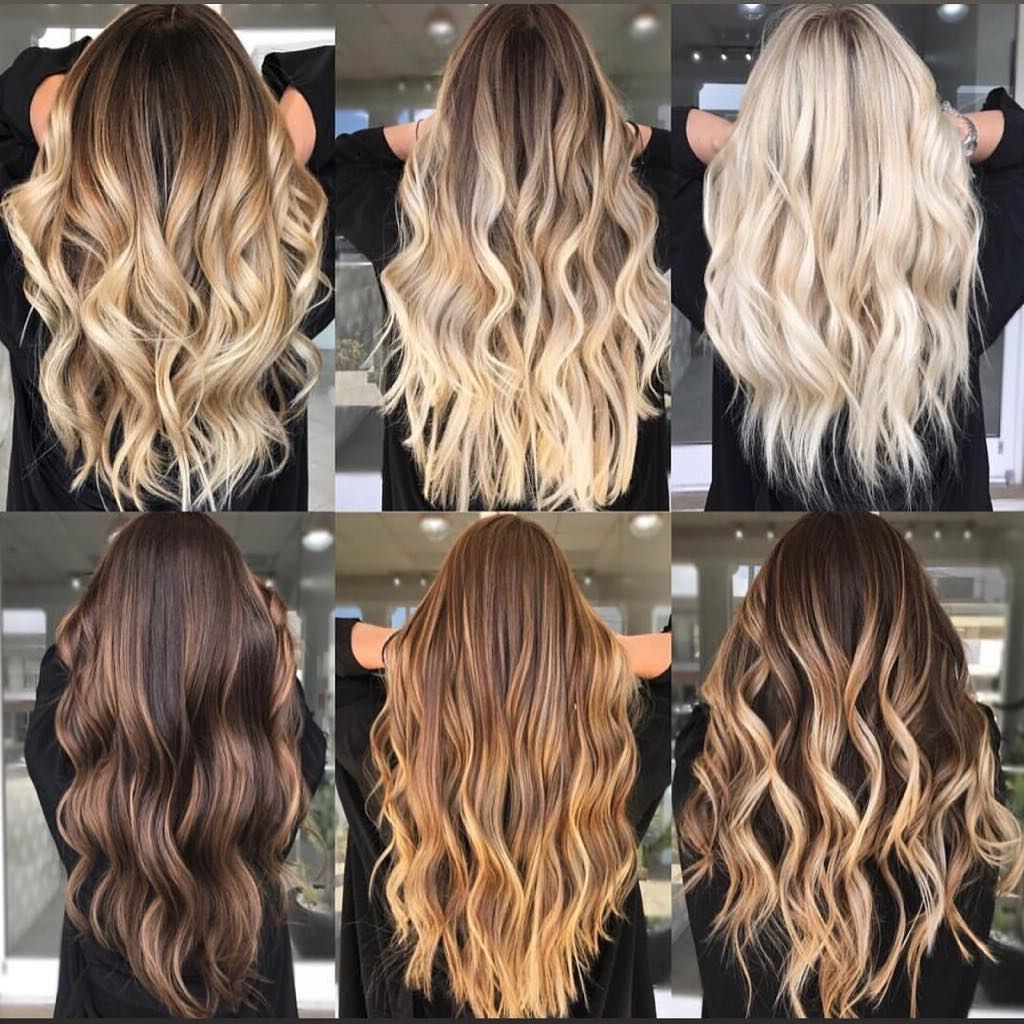
Balayage, as a highlighting technique, has become very popular and stylish in recent years. Balayage involves using slightly different hair shades to create sun-kissed dimension. Oftentimes, a shade that is two or three shades lighter than the rest of your natural hair will be hand-painted to create vertical highlights onto the surface of the hair, away from the roots. This coloring technique doesn’t require as much conscientiousness as traditional highlighting, and it results in a very natural look. Balayage is low maintenance and also reduces color bleeding.
Balayage is usually associated with becoming blonde, but it can be used on and with any hair color. For those with dark brown hair, you are just the rest of this article away from getting your balayage done at home.
Things You’ll Need
• Disposable gloves
• Tint Brush
• Toner
• Shampoo
• Conditioner
• Mixing bowl
• Drape
• Comb
• Hair clips
• Barrier cream, e.g., Vaseline
• Shower cap
• Balayage kit (containing the hair dye, bleach, developer, etc.)
• Mirrors
Why You’ll Need Them
Everything on this list is important in the balayage process. Each item has its role to play to ensure that the process turns out with a fine result. Knowing their respective uses can guide you.
• The disposable gloves will be needed to protect your hands from the dye chemicals.
• The tint brush will be used to apply the bleach and dye on your hair.
• Toner is used to maintain hair tone and to neutralize brassiness.
• Deep moisturizing Shampoo and Conditioner are needed to wash your hair.
• A mixing bowl to mix the bleach, dye, and other chemicals involved (Read the instructions on your balayage kit).
• A drape to protect your body and clothes. This could be an old T-shirt, cape or towel. You don’t want to get bleach and dye on your skin or good clothes.
• A comb for combing and backcombing.
• Hair clips to hold sections of your hair in place during dyeing/bleaching.
• The barrier cream to protect your hairline from stains.
• A shower cap to wear while the dye or bleach is at work.
• A balayage kit that contains the key ingredients.
• Mirrors to see what you’re doing.
Before You Get into It…
First off, it’s a good idea to research your hair type and, of course, read the instructions on your balayage kit. Your hair type, length, texture, health, and thickness all affect the final result. Also, paying keen attention to the dye instructions is important, as different kits come with different instructions, chemical makeups, and developing time.
It is recommended to always perform an allergy test 48 hours before using any product. This is very important, regardless of if you have used that same product before. This can also give an insight into how long you need to wait for the color to develop.
Since this article is about dark brown hair, light brown or caramel highlights are good balayage options. However, there really are no limits, and you could pick any color to balayage. Depending on how dark your hair is and how light you want to go, you may need to undergo multiple highlighting sessions.
Method (11 Easy Steps)
1. Set up mirrors in front of and behind you to get a good view of what you are doing. Put on your drape.
2. Now start by mixing your bleach and developer in a mixing bowl with a mixing spoon usually present in the kit. Make sure you follow the mixing instructions precisely.
3. Section your hair into parts. You could divide it into three horizontal parts (top, middle, and bottom) or into four by dividing it into two from the center of your hair down to the end, and then from ear to ear.
4. Apply a layer of the barrier cream or Vaseline to your hairline to prevent your skin and scalp from accidentally getting stained.
5. Start to apply the colorant or bleach to your hair with the tint brush, specifically to the areas you want to lighten. Using a picture of a balayage look you want to achieve can help you. Start from the back of your hair. Gradually work through to the top. Work on small sections at a time and secure them with hair clips.
6. Start your balayage at different points of your hair to avoid a dip-dye look. Avoid the roots.
7. Remember to vary how much dye or bleach you apply to your hair depending on what section of hair you are painting. You should apply less as you go up towards the roots. The tips are always the brightest, and your hair should have a gradated look overall. Continue to paint your hair with the brush in small strokes till you have finished all the hair you wanted to paint.
8. Depending on how you usually style your hair, you could make your front strands brighter than the rest of your hair to frame your face.
9. Once you’ve covered your hair, comb through from the mid-length down to the tips, and ensure that the product is distributed evenly. Wait out the development time and wear a shower cap if you want.
10. Once it’s done, wash your hair and use a deep moisturizing shampoo and conditioner. If you aren’t satisfied with the result, which could happen with dark brown hair, go through steps 5-9 again before washing or visit a hair color professional. Apply the toner if the colors come off as brassy.
11. Let your hair airdry or use a hair blow dryer. If you are using a blow dryer, use hair repairing oils and a heat-protective spray.
That’s it! These tips will help you to create a successful balayage on your dark brown hair at home by yourself. You should give yourself some credit.
Balayage highlighting is low maintenance, and you won’t have to touch it up for at least 4-6 months; it all depends on you. Enjoy your new hair!